Posts

Showing posts from July, 2022

SPFx React Basics & Life-Cycle
Image
In this post we will see some basic concepts about below topics. React Intro React Vs Angular React Life-Cycle Virtual DOM Create React Solution Difference between No Framework vs React Solution Components (.tsx file) Elements Props State React Events React Events-Passing parameters Arrow method React Intro:     React is a JS Library, Used to build User Interface.     It is developed & Maintained by  Facebook     We will use React as V in MVC, SPFx provides its own model & controller React Vs Angular Angular React It's a Framework Its a JS Library Its a MVC model React gives only V Bi-directonal data flow One way data flow Dependency Injection supported Dependency Injection not supported React Life-Cycle ( Link1 , Link2 )      Three phases of React Life Cycle:  Mounting =>  P utting elements into the DOM Updating => W henever there is a change in the component's state or props Unmounting => W hen a component is removed from the DOM Mounting constructor() This

Adding jQuery to SPFx webpart & Adding Accordion control using jQuery

Image
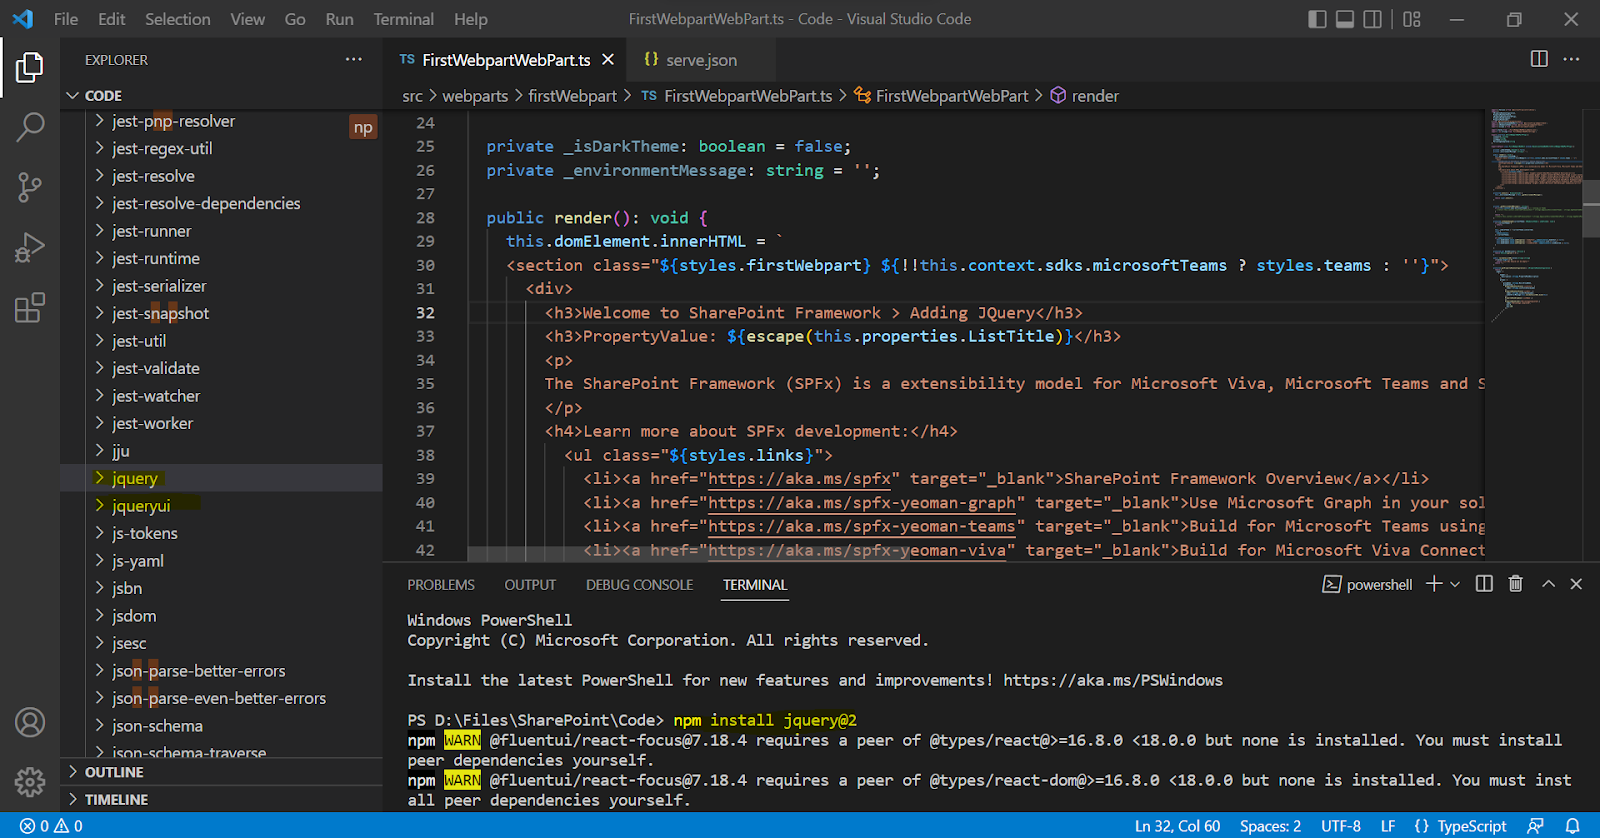
 Adding jQuery to SPFx webpart         Follow this link to create SPFx webpart(initial steps) & Open the solution in visual studio code.  Step 1: Add jQuery & jQueryUI  NPM Packages :                     npm install jquery@2                     npm install jqueryui               Open visual studio code > open Terminal(ctrl+`) & Enter above code that will add jQuery & jQueryUI to the node modules.  jquery@2 represents version of jQuery. Also this will be added under solution file 'package.json' > 'dependencies' Step 2: Install the typings                         npm install @types/jquery@2 --save-dev                              npm install @types/jqueryui --save-dev               Adding jQuery to 'devdependencies' which is used during development time & above code will add these jQuery under  solution file 'package.json' > 'devdependencies' Step 3: Import jQuery & jQueryUI in Webpart.ts file:                   

Update SPFx webpart Properties

Image
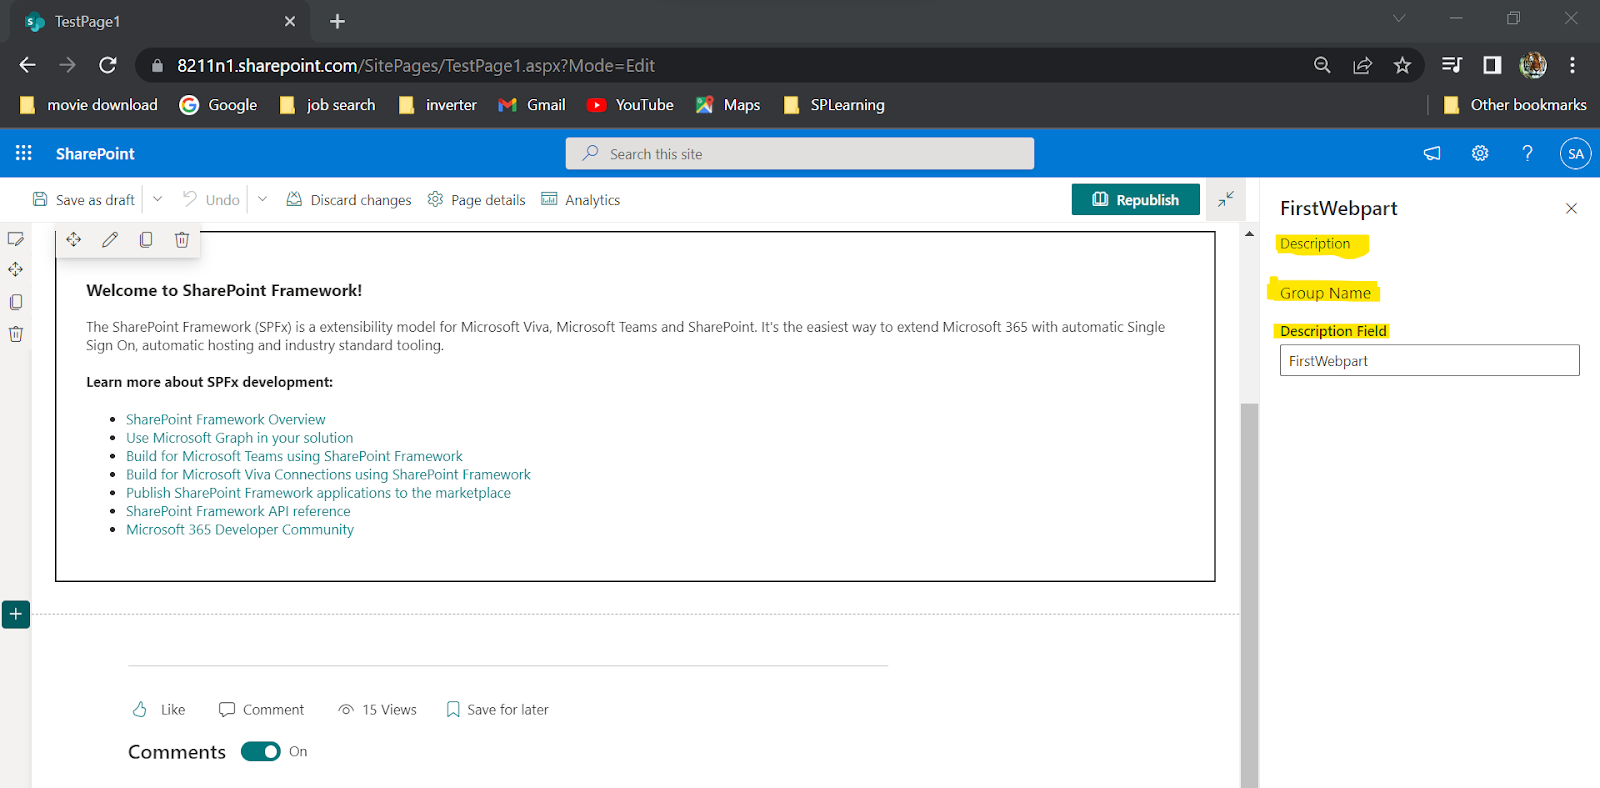
 Customize SPFx webpart Properties               In this post we will see how to customize SPFx webpart properties & code to be updated. Titles covered: 1.  Files & methods used for webpart Property 2. Bind Webpart Property values in Code 3. Field types used in Property Pane 4. Adding new properties 'ListTitle' & 'ListUrl' in same group 5. Adding Validation to the Properties 6.  index-internal.d.ts file uses 6. Adding Dropdown type Webpart property 7. Adding Slider type Webpart property: 1. Files & methods used for webpart Property(ex.  " Description " property ) For example refer the below webpart property "Description" src/WebPart.ts      1. References added from -> i mport from ' @microsoft/sp-property-pane '      2. Under interface( IWebpartWebPartProps ) declare the property "Description"     3. Implement the property in  getPropertyPaneConfiguration() method After this webpart property heading, group name,

Create SP Library as CDN (Upload SPFx webpart assets into SharePoint library)

Image
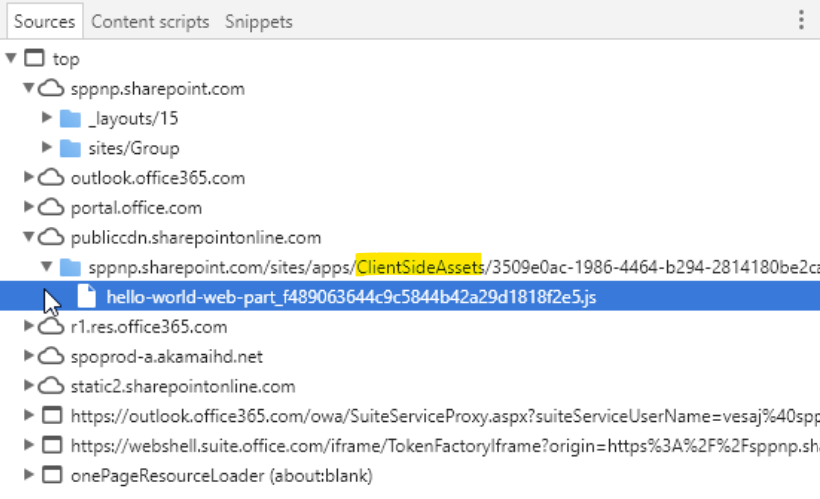
  To make SharePoint Library as CDN :          In this post we can see how to  add asset files separately instead of adding in SPFx sppkg file.            By default all the assets will be added under " ClientSideAssets " library of AppCatalog site  (If config/package-solution.json >   includeClientSideAssets  is   true )            We can also upload assets into into SharePoint library and make it as a CDN for sppkg package file.  (If   config/package-solution.json -->  includeClientSideAssets  is  false )  config/write-manifests.json -->  cdnBasePathis  --> add SP Library name where we upload assets Create a new document library & set readonly permission to everyone so that every one in this site can access the assets of webpart. After that run " gulp bundle --ship" & " gulp package-solution --ship"  comments in VS code, it will create  asset  files under "release/assets" folder & upload those files into SP Library. Also