Posts

Showing posts with the label SPFx

Token type is not allowed Error While using Client Id Client Secret

Image
       When you are using Client Id and Client Secret first time you might get this below error        {"error":"invalid_request","error_description":"Token type is not allowed."}         Reason :  For new SharePoint subscription Grant App Permission is disabled by default  or the browser link https://xxxx-admin.sharepoint.com/_layouts/15/appinv.aspx is disabled .  To   enable this feature, we need to connect to SharePoint using Windows PowerShell and then  run  set-spotenant -DisableCustomAppAuthentication $false Open Windows power shell > Run below scripts Install - Module - Name Microsoft . Online . SharePoint . PowerShell $adminUPN = "<Email address of a SharePoint administrator account, example: jdoe@contosotoycompany.onmicrosoft.com>" $orgName = "<name of your Office 365 organization, example: contosotoycompany>" $userCredential = Get - Credential - UserName ...
SPFx Run with elevated privileges

Image
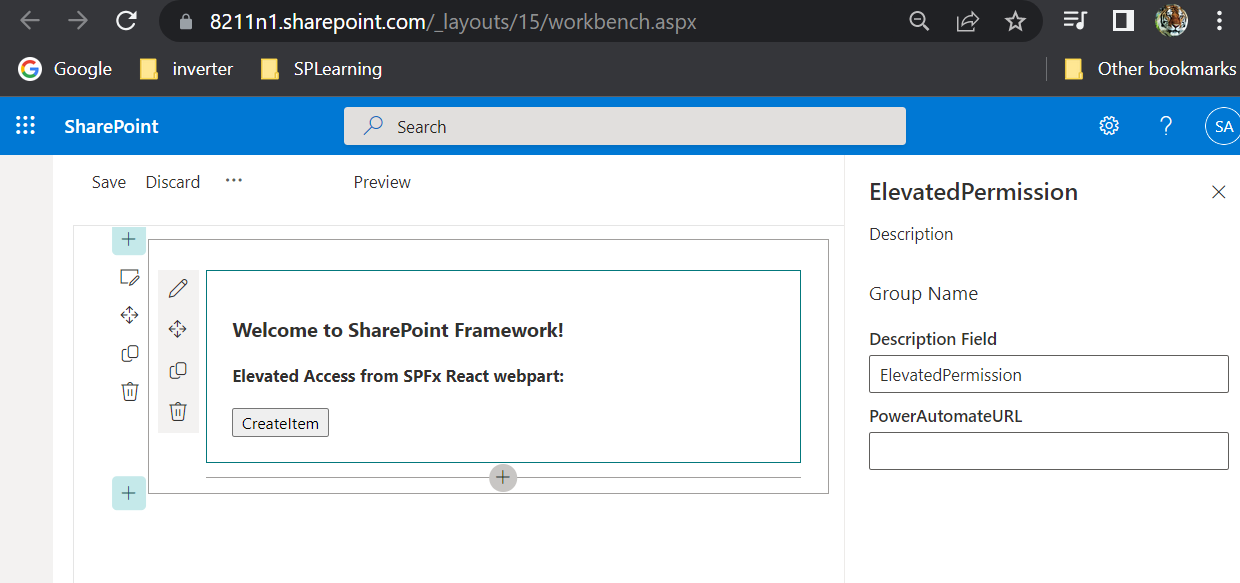
In this post we will create SharePoint list item using elevated access from SPFx webpart (by calling power automate post URL) Steps Involved: Register our add-in in SPO with full control permission Create Power Automate: It will create SP List item with above registered add-in Call Power Automate from SPFx webpart  In this post we will learn about: /layouts/15/appregnew.aspx  - Page to create Client Id & Client Secret /_layouts/15/appinv.aspx  - Page to give permissions to Client Id & Client Secret App Permission Request  xml   - where we mention scope & permission level of app permission Get Access Token   - Using client id & client secret from automate we will call http to get this Tenant ID   - Site settings>Site collection app permissions(tenant id will be available after @) httpClient.post()  - used to call power automate post URL from spfx (sphttpclient.post() -used in rest api calls) Access T...

Build MS Teams Tab Using SharePoint Framework

Image
Create Teams Tab using SPFx: In this post we will see how to add  SPFx webpart to MS  Teams tab. In this post we will reuse the excising SPFx solution which we created in this post=>  SPFx CRUD using Rest API . & modify few changes for MS Teams. & Below is the Final Output. 2 Important Changes in SPFx Solution:     1. Webpart.Manifest.json: Under            "supportedHosts": ["SharePointWebPart", "TeamsPersonalApp", "TeamsTab",],          Add TeamsTab & Teams Personal App if it is not present already.     2. Component File(.tsx): Check for microsoftTeams.context present or not (If present we can implement code for Teams)           if( t his.props.context.sdks.microsoftTeams != null){                var test = this.props.context.sdks.microsoftTeams.context;         ...

Debug SPFx React webpart with Visual Studio Code

Image
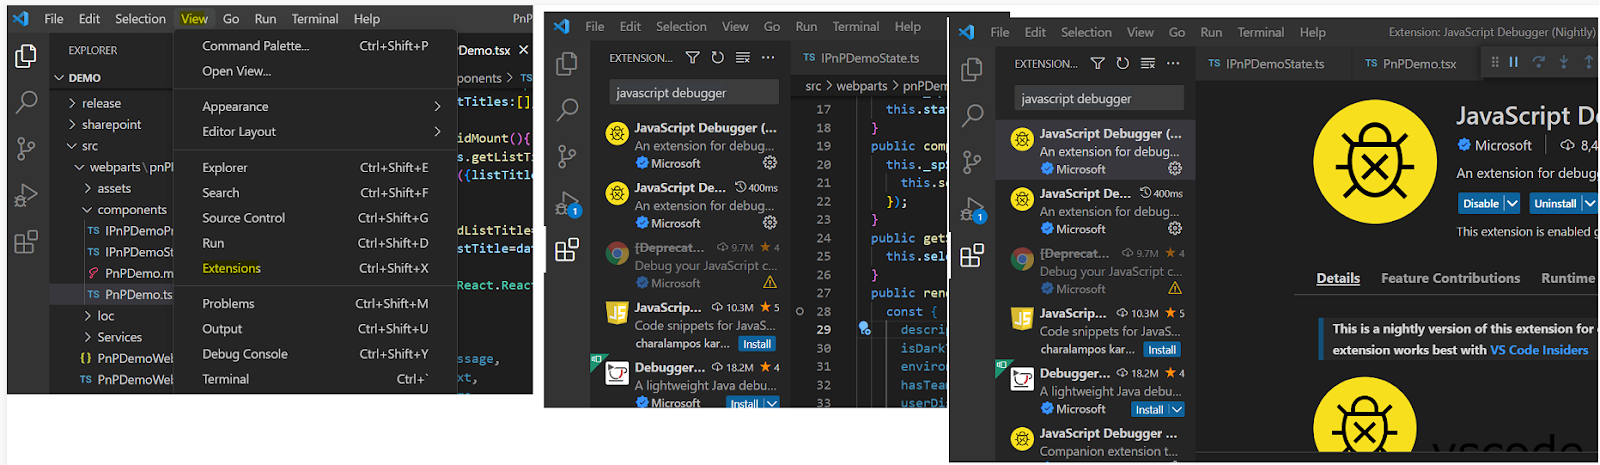
Method 1:     This is a simple method, we will add debugger in our code & in workbench page developer tools we can debug our code. Method 2:     We can directly debug from Visual Studio code.  Go to Visual studio code >  Extensions > search for " javascript debugger " > install     Click on Run & Debug (Control + Shift + D) > Add Configuration > Update you SP Workbench url     Place your break point(I have placed in Render method),       Open Terminal (Control + Shift + ~) > run " gulp serve --nobrowser " Once it is completed >  Run > Start Debugging     Now in the workbench page when you add your webpart, debugger will hit in our VS Code. Refer this Link for more details